From Setup to First Localization
This guide walks you through the complete workflow from creating your account to successfully localizing to your first scanned location using the NSDK Kotlin or Swift sample apps.
Overview
By the end of this guide, you will:
- Have a Portal account and be able to sign in
- Create a site using Scaniverse
- Retrieve a localization target from a generated asset
- Configure and build the NSDK sample app
- Successfully localize to your scanned location using VPS2
Prerequisites
- A mobile device running Android or iOS
- Android Studio (for Kotlin) or Xcode (for Swift)
Step 1: Sign In to the Portal (Web)
Before you can create sites and scan locations, you need access to the Niantic Spatial Portal.
- Navigate to https://portal-web.nianticspatial.com/.
- Log in with your email and password.
- If you don't have an account yet, you'll need to receive an invitation and set your password using the "reset password" option on the login screen
- If you have issues accessing the portal (e.g., 403 errors), try clearing your browser cache:
- Chrome (Mac):
Cmd + Shift + R - Chrome (Windows):
Ctrl + Shift + R - Or right-click the refresh icon → Empty Cache and Hard Reload (from DevTools)
- Chrome (Mac):
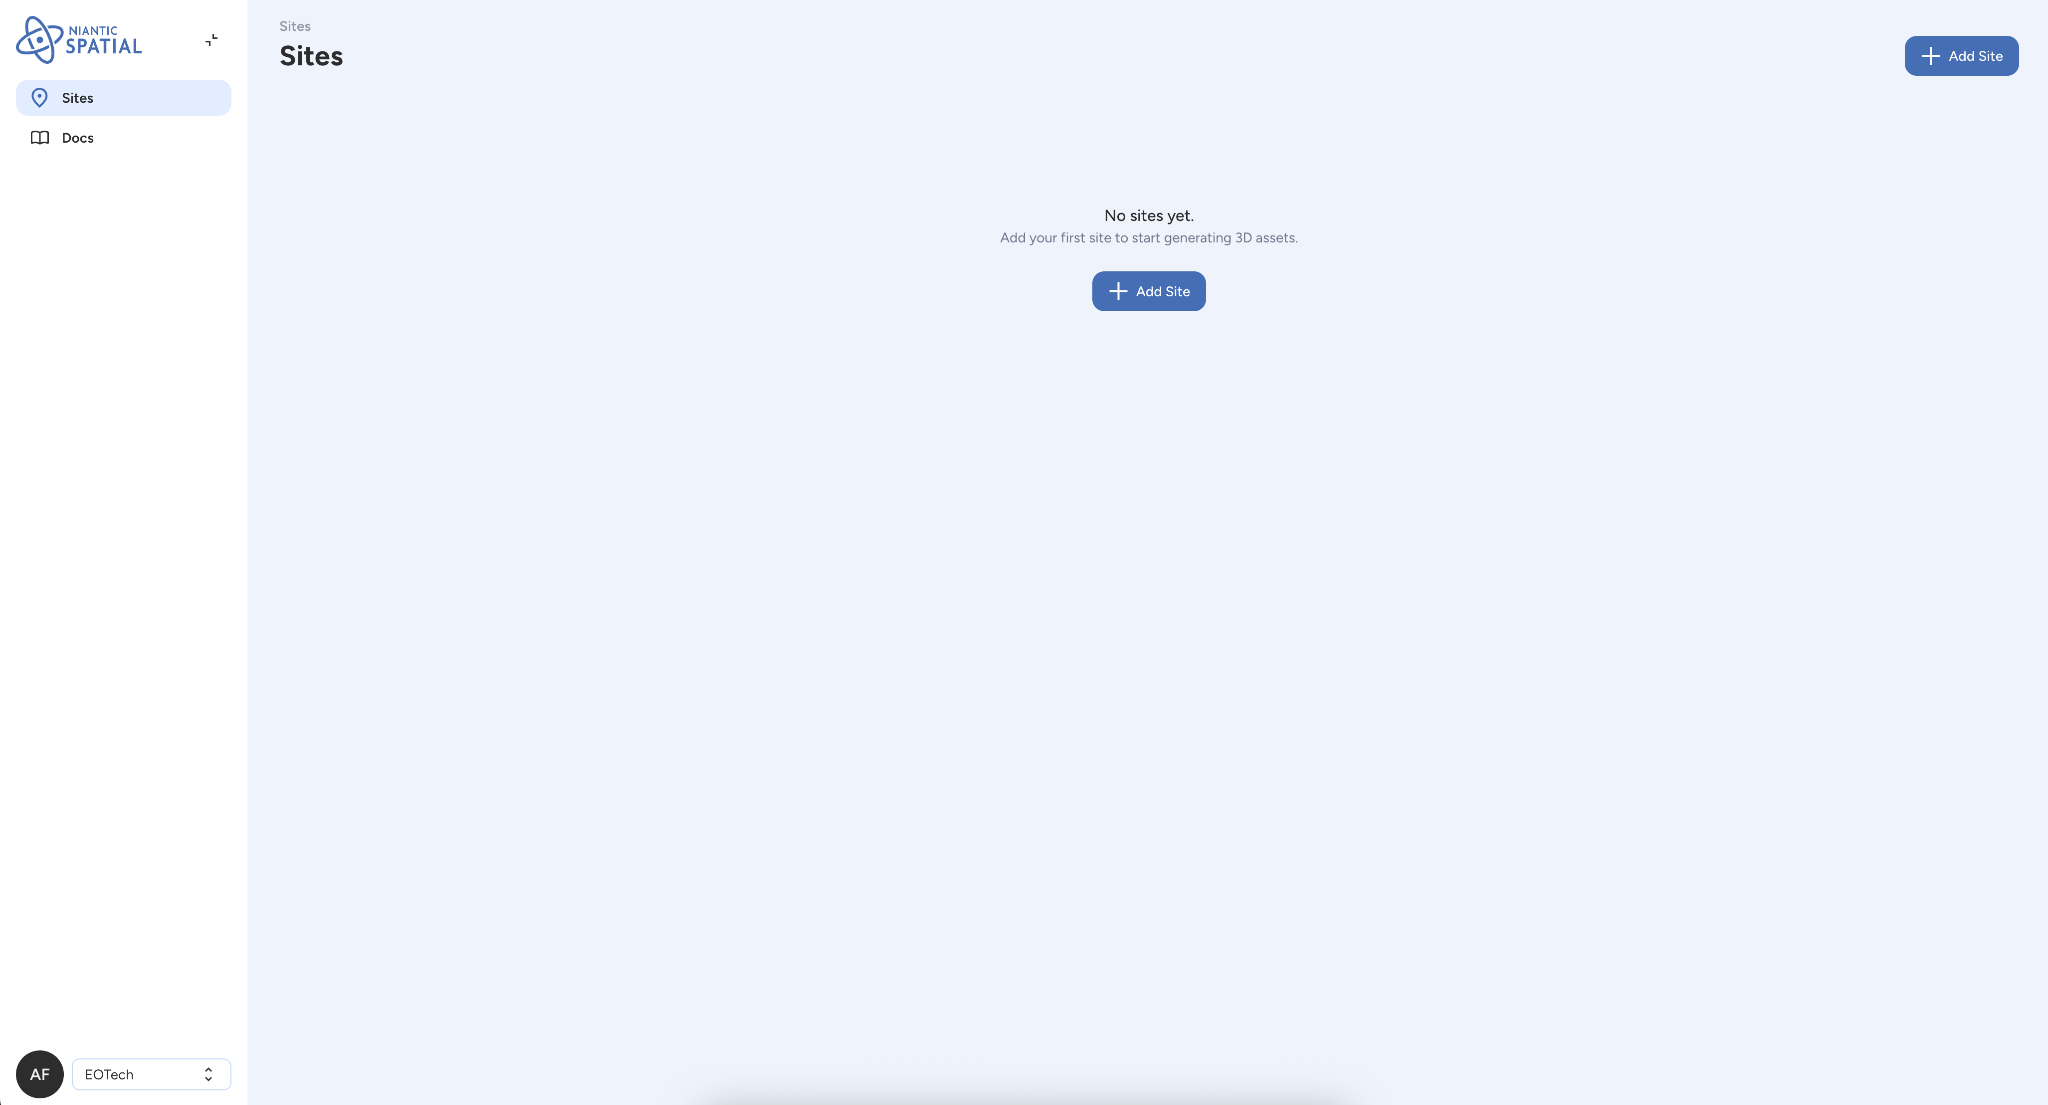
- Once signed in, you should see your dashboard where you can manage your sites and assets.
Step 2: Set Up Scaniverse with Business Account Login
Scaniverse is the mobile app that allows you to scan and create spatial assets. You'll need to configure it to use your business/enterprise account.
2.1 Install Scaniverse
- Android
- iOS
Android support for the enterprise Scaniverse experience is coming soon. For now, use iOS to complete the scanning workflow.
-
Install TestFlight from the iOS App Store (requires Apple ID login).
-
Install the latest Scaniverse build by scanning the provided QR code or using the TestFlight invitation link.

-
If you're already logged into Scaniverse, sign out of the consumer experience first.
2.2 Configure Enterprise Login
-
Open Scaniverse on your device.
-
On the sign-in screen, tap the Sign in with Business Account button at the bottom.
-
Once in the Enterprise experience, navigate to Profile → Developer Settings in the top right.
-
Set all toggles to Prod (External Beta Testers).
-
Log in with your email and password (the same credentials you use for the Portal).
-
Restart the app to ensure the Prod environment is applied, then sign back in.
If you are in multiple organizations, you can select your organization by going to Profile → select Organization dropdown.
Step 3: Create a Site and Capture Scans
Now you'll create a site and capture scans that will be processed into a spatial asset for localization.
3.1 Create a Private Site
You can create a site either from the web Portal or from the mobile app.
From Web Portal:
- In the Portal, click to create a new Site for a landmark or location of your choosing.
- Give your site a clear, descriptive name.
- Optionally, select a location for the site
From Mobile (Scaniverse):
- In Scaniverse, navigate to create a new site.
- Give your site a clear, descriptive name.
- Optionally, select a location for the site
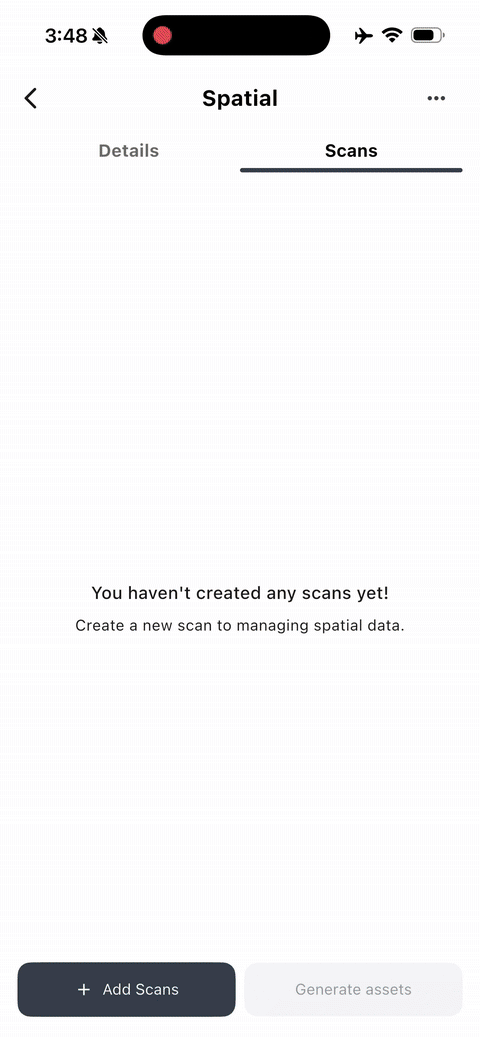
3.2 Add Scans to the Site (Mobile)
- Open the site you just created (you may need to refresh the page if using the web Portal).
- In Scaniverse, start adding scans to that site.
3.3 Capture a Scan
- Start scan recording and capture the intended environment.
- Point your device camera at the area you want to scan.
- Move slowly and steadily to capture the environment from multiple angles.
- Ensure good lighting and clear features in the scene.
For best localization results, ensure your scan:
- Captures distinct visual features (walls, furniture, decorations)
- Includes multiple angles and viewpoints
- Has adequate lighting
- Covers the area where you plan to localize
3.4 Review, Name, and Save the Scan
- After each scan, review the visualization to confirm it captured what you intended.
- Give the scan a clear, descriptive name.
- Save the scan.
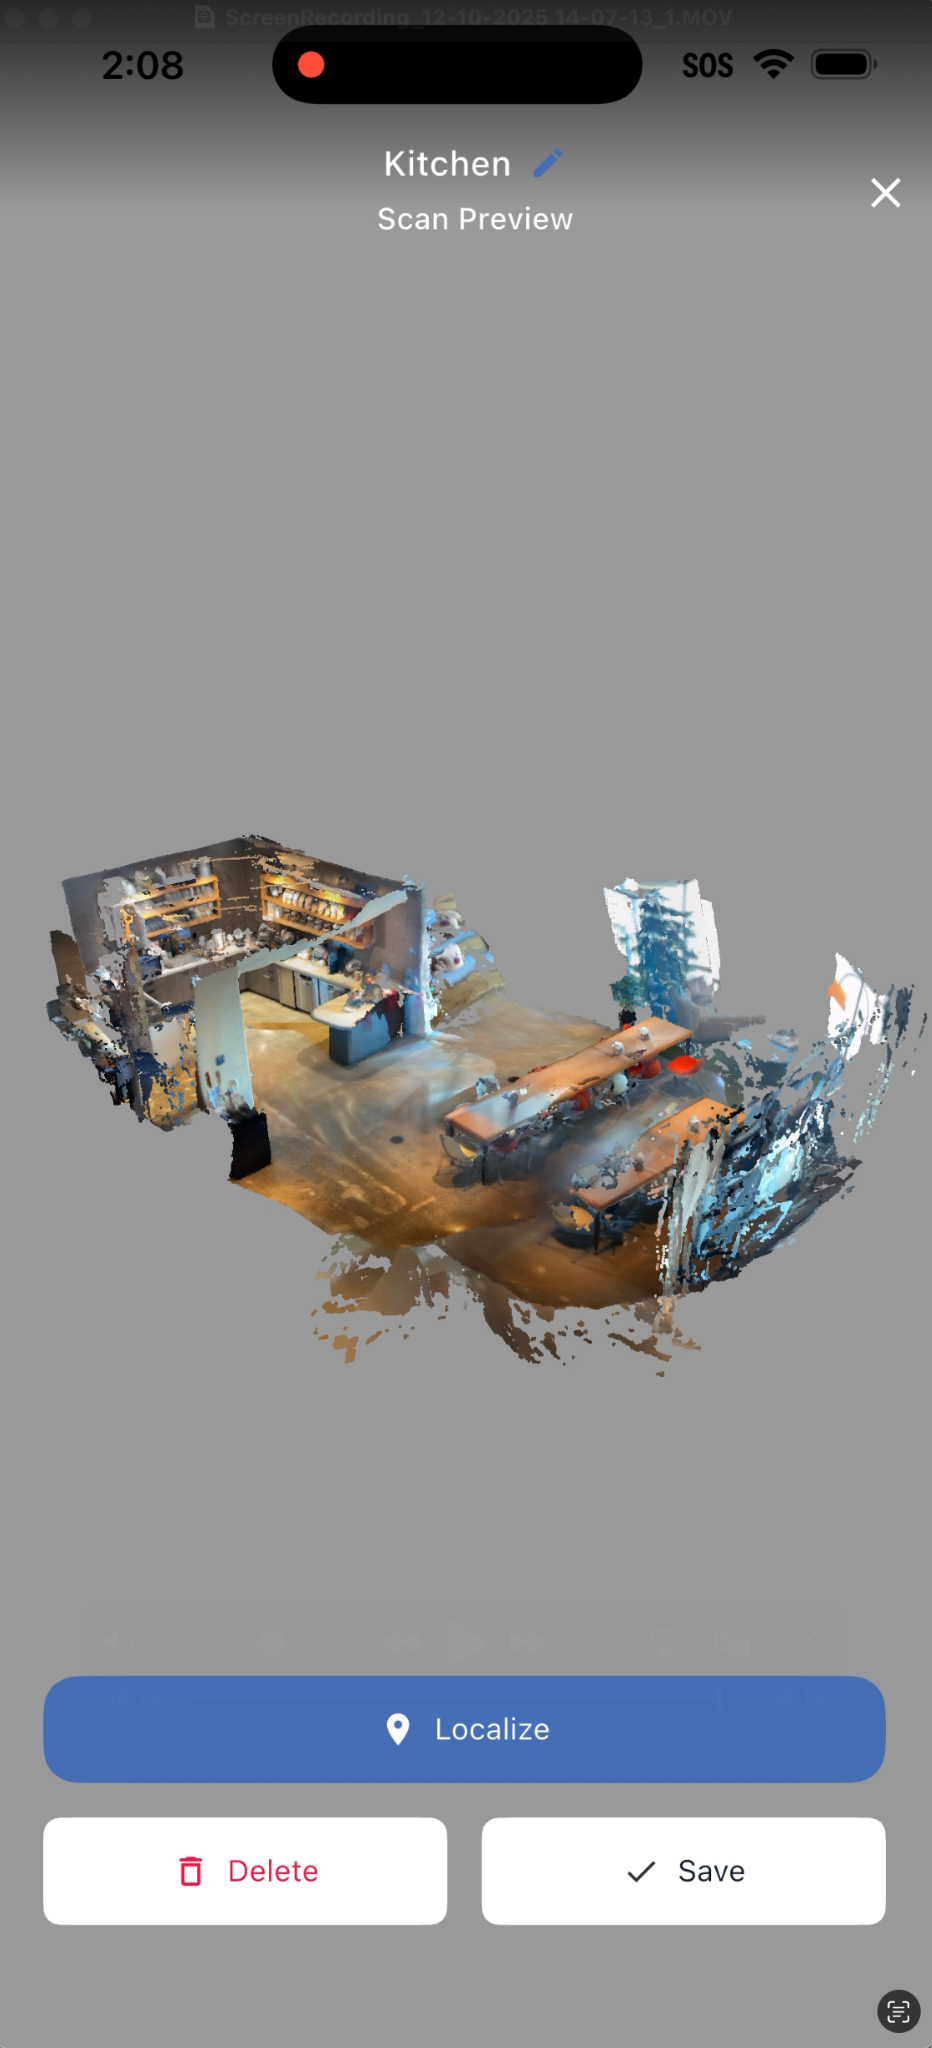
3.5 (Optional) Test VPS of Scan
Before uploading and processing, you can quickly test localization:
- Select a scan in Scaniverse.
- Trigger Test VPS to quickly check localization before uploading and processing.
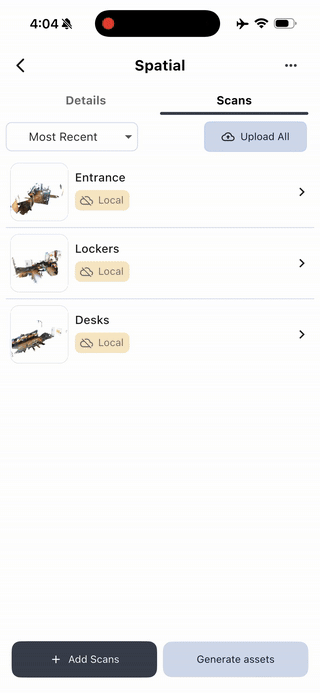
3.6 Upload Scans to the Cloud
- In Scaniverse, use Upload All to upload your scans.
- This makes them available to your team and ready for processing.
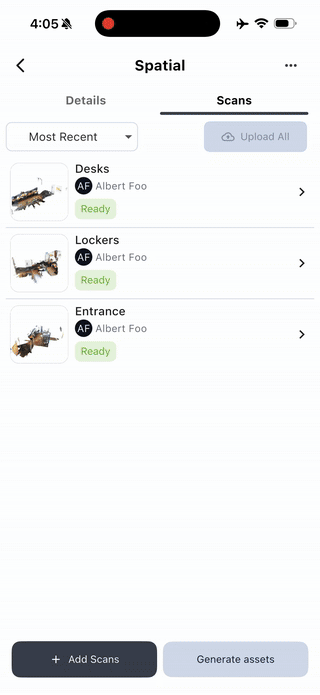
3.7 Process Scans into a Map and Mesh
You can trigger processing from either the web Portal or the mobile app:
- Select your uploaded scans (either in the Portal web interface or in Scaniverse).
- Trigger processing to generate a map and mesh.
- Wait for the processing to complete.
- Processing typically takes several minutes to hours depending on scan complexity
- You'll receive a notification or the status will update when ready
The time required for asset generation depends on:
- The size and complexity of your scans
- Current server load
- The number of scans being processed
Check the Portal for estimated completion times.
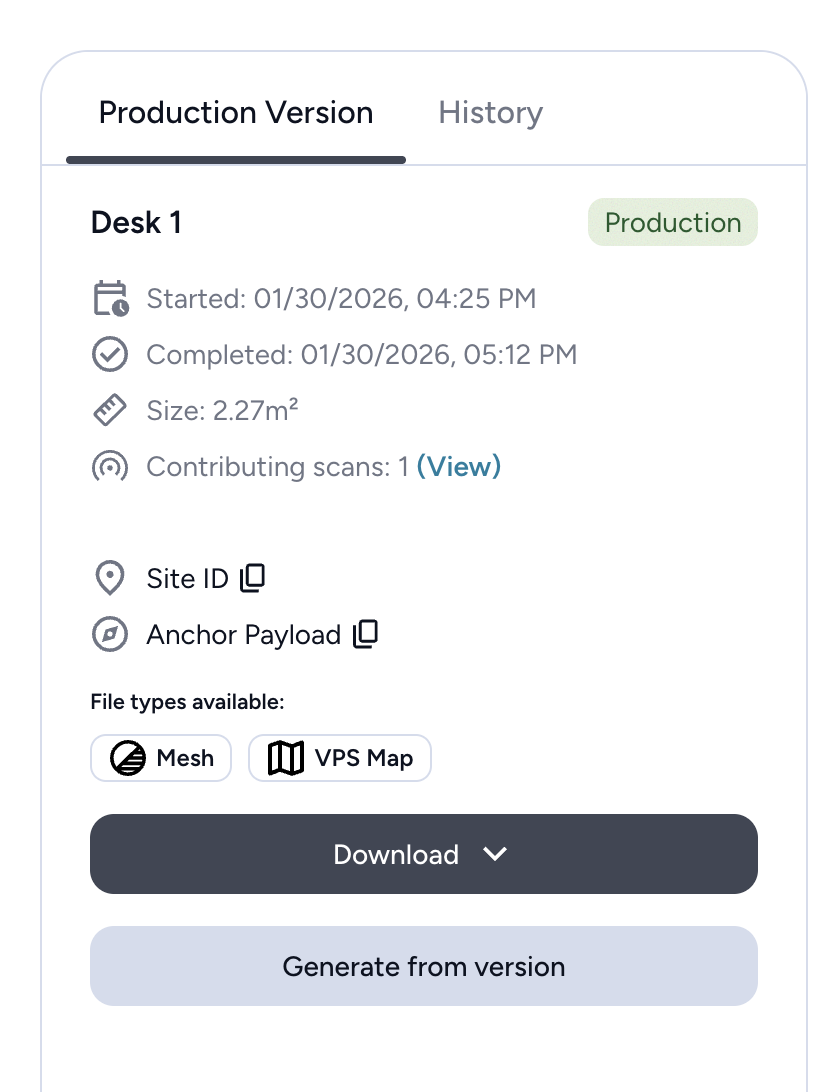
3.8 Set Scan to Production
Once your scans have finished processing, you need to set the resulting asset as the production version of that site. This makes the site ID and anchor payload discoverable for use in your app.
- In the Portal, navigate to your site.
- Find the processed asset that you want to use for localization.
- Click Set to Production on the processed asset.

- Confirm that the asset is now marked as the production version.
- The site ID and anchor payload are now available for retrieval
Only assets set to production will have discoverable site IDs and anchor payloads. Make sure to set your processed asset to production before proceeding to retrieve the localization target.
3.9 (Optional) Test VPS of Processed Map
Once processing is complete, you can test localization:
- Go to the target location (the physical place you scanned).
- In Scaniverse, attempt to localize using the processed VPS map.
- Verify that localization works correctly before proceeding to use it in your app.
3.10 (Optional) Switch Between Asset Versions
If you have multiple processed versions:
- Switch between available asset versions (in Portal web or mobile).
- Compare different processed results before selecting one to use.
Step 4: Retrieve the Localization Target
The localization target (anchor payload) is what your app will use to localize to the scanned location.
- In the Portal, navigate to your site and select the Production Version.
- Copy the Anchor Payload string.
- It will be a long base64 encoded string
- Save this payload string for use in the next step.
Step 5: Modify the NSDK Sample App
Now you'll configure the sample app to use your anchor payload for localization.
5.1 Get the Sample App
- Android (Kotlin)
- iOS (Swift)
- Clone the Kotlin samples repository:
git clone https://github.com/niantic-lightship/kotlin-samples.git - Open the project in Android Studio:
- Launch Android Studio
- Select File → Open...
- Navigate to the cloned repository root
- Select the project folder
- Clone the Swift samples repository:
git clone https://github.com/niantic-lightship/swift-samples.git - Open the project in Xcode:
- Launch Xcode
- Select File → Open...
- Navigate to the cloned repository
- Open
ArdkSamples.xcodeproj
5.2 Add the Anchor Payload
Now add your localization target (the anchor payload you retrieved in Step 4) to the VPS2 sample scene.
- Android (Kotlin)
- iOS (Swift)
- Open the
build.gradle.ktsfile in the root directory (the same file where you configured the access token). - Locate the line:
buildConfigField("String", "DEFAULT_VPS_PAYLOAD", "\"YOUR_PAYLOAD\"") - Replace
"YOUR_PAYLOAD"with the anchor payload you copied from Step 4:buildConfigField("String", "DEFAULT_VPS_PAYLOAD", "\"YOUR_ANCHOR_PAYLOAD_FROM_STEP_4\"") - Save the file.
- Open
VPS2ViewController.swiftin the project (located atNsdkSamples/NsdkSamples/VPS2ViewController.swift). - Locate the line near the top of the file:
private let anchorPayload: String = "<PUT_ANCHOR_PAYLOAD_HERE>" - Replace
"<PUT_ANCHOR_PAYLOAD_HERE>"with the anchor payload you copied from Step 4:private let anchorPayload: String = "YOUR_ANCHOR_PAYLOAD_FROM_STEP_4" - Save the file.
Step 6: Build and Deploy the Sample App
Build the sample app and deploy it to your device.
Step 7: Run the Sample and Sign In
Launch the app and authenticate with your Portal credentials (if needed).
- Open the NSDK sample app on your device.
- Navigate to the VPS2 sample scene or option.
- This may be listed as "VPS2", "VPS Localization", or similar in the sample menu
- If an access token is built into the app: No sign in is required. You can proceed directly to localization.
- If no access token is built into the app: Follow the login instructions on the home page after granting the required permissions (location and camera).
- Login with an email and password, or Google SSO
- Follow redirects back to the app upon login
The sample app uses Niantic Spatial Auth to authenticate with the Portal. This allows the app to:
- Access your organization's sites and assets
- Use VPS2 localization features
For more information, see the Authentication guide.
Step 8: Localize to Your Scanned Location
Now you'll use the VPS2 scene to localize to the location you scanned earlier. The process and visual feedback differ between iOS and Android platforms.
- iOS (Swift)
- Android (Kotlin)
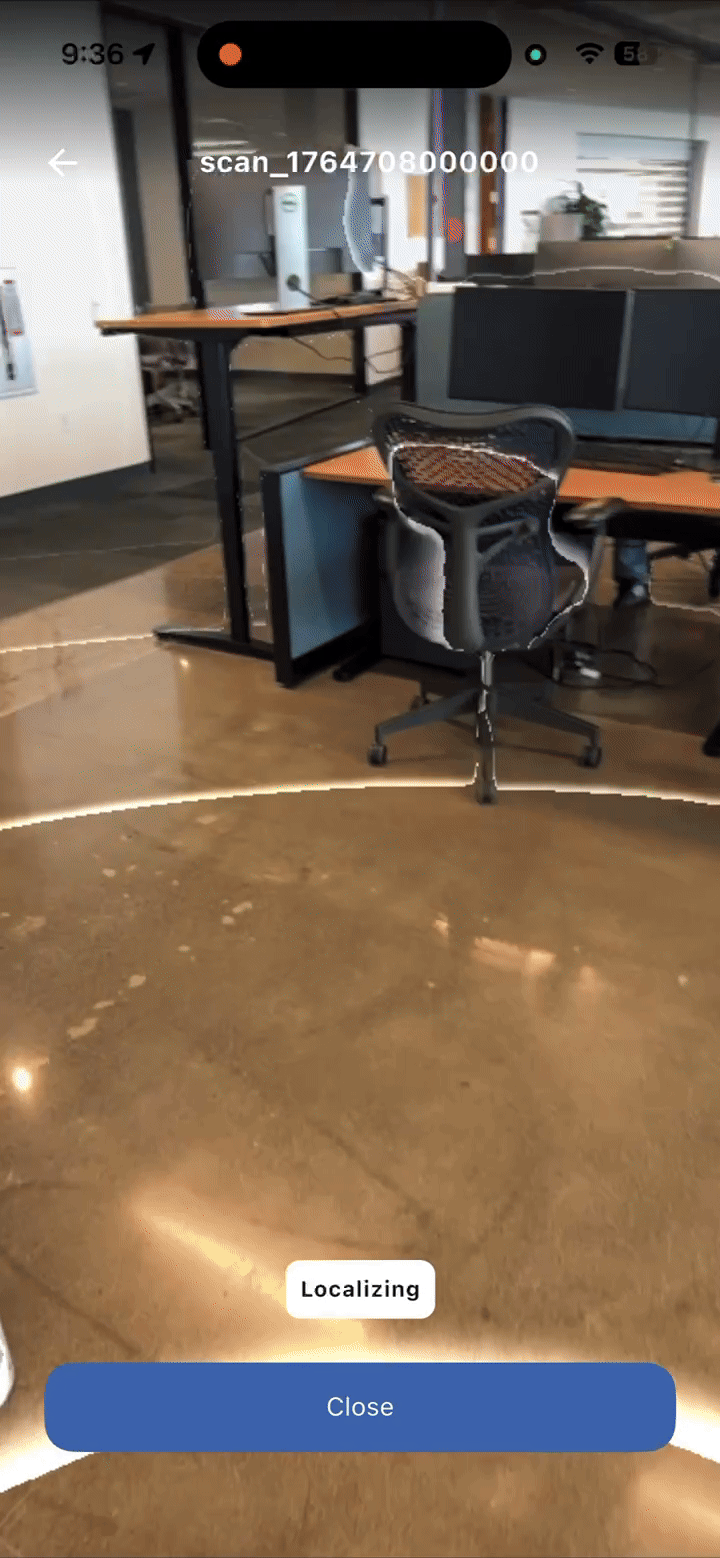
iOS Localization Process
- In the VPS2 sample scene, ensure you're at or near the physical location you scanned.
- The app needs to be able to see the same features that were captured in your scan
- Look for the Localize button at the bottom center of the screen.
- Tap Localize to begin tracking the anchor specified by your anchor payload.
- The button will disappear once tracking starts
- The info label will show "Localizing..." during the process
- Point your device camera at the scanned area.
- Move slowly to help the system match visual features
- Ensure good lighting matches the scan conditions
- Watch the info label for status updates and observe the visual markers in the AR scene.
iOS Localization States and Visual Feedback
The VPS2 localization process on iOS provides feedback through both status text and visual markers:
Localization Status (Info Label)
- "Not localized.": Initial state before localization begins
- "Localizing...": Active localization attempt in progress
- "Localized!": Successfully localized (transformer is available)
- "Could not localize.": Localization failed or lost
Anchor Tracking States (Visual Markers)
When tracking an anchor, the app displays different markers based on the AnchorUpdateType:
-
.none(Not tracking):- Info label: "Not tracking"
- Both markers disabled (hidden)
- No visual indicator
-
.coarse(Coarse tracking):- Info label: "Tracking (coarse)"
- Red cube marker (1.0m size) appears at the anchor location
- Mesh marker disabled
- Indicates approximate location with lower precision
- A red arrow may appear in front of the camera pointing toward the POI when in coarse mode
-
.refined(Refined tracking):- Info label: "Tracking (refined)"
- Mesh marker appears (downloaded mesh with textures)
- Red cube marker disabled
- Indicates precise location with high accuracy
- The mesh represents the actual scanned environment geometry
Android Localization Process
- In the VPS2 sample scene, ensure you're at or near the physical location you scanned.
- The app needs to be able to see the same features that were captured in your scan
- Look for the Start Tracking button at the bottom center of the screen.
- Tap Start Tracking to begin tracking anchors with the configured payload(s).
- The button text will change to "Stop Tracking" once tracking is active
- The app will automatically track the payload configured in
build.gradle.kts
- Point your device camera at the scanned area.
- Move slowly to help the system match visual features
- Ensure good lighting matches the scan conditions
- Watch the visual indicators and status information displayed on screen.
Android Localization States and Visual Feedback
The VPS2 localization process on Android provides feedback through multiple visual indicators:
Transformer Tracking State (Top-Right Circle Indicator)
A colored circle in the top-right corner indicates the overall VPS2 transformer tracking state:
- Red:
UNAVAILABLE- VPS2 is not localized - Yellow:
COURSE- Coarse localization achieved (approximate location) - Green:
REFINED- Precise localization achieved (high accuracy)
Anchor Tracking States (Visual Markers)
Each tracked anchor displays visual feedback based on its AnchorUpdateType:
-
COARSE(Coarse tracking):- Orange cube (large, 1.0m × 1.0m × 1.0m) appears at the anchor location
- Indicates approximate location with lower precision
- Mesh is not rendered during coarse tracking
-
REFINED(Refined tracking):- Green cube (small, 0.2m × 0.2m × 0.2m) appears at the anchor location
- Mesh geometry (with textures) is automatically downloaded and rendered
- Indicates precise location with high accuracy
- Mesh represents the actual scanned environment geometry
Anchor State Display (Bottom-Left Panel)
A panel shows all tracked anchors with their current state:
- Yellow dot + "TRACKED (COARSE)": Anchor is tracked but only with coarse precision
- Green dot + "TRACKED (REFINED)": Anchor is tracked with refined precision
- Red dot + "NOT_TRACKED": Anchor is not currently being tracked
- Yellow dot + "LIMITED": Anchor tracking is limited (degraded state)
Each anchor entry displays: Anchor Name - State (UpdateType)
Geolocation Display (Bottom-Right Panel)
When tracking is active, the bottom-right panel shows:
- VPS2 coordinates: Latitude, longitude, and heading derived from VPS2 localization
- Red compass indicator showing VPS2 heading direction
- Device GPS coordinates: Latitude, longitude, and heading from device sensors
- Blue compass indicator showing device heading direction
This allows you to compare VPS2-localized position with device GPS position.
Going Further
In this guide, you've learned how to hardcode an anchor payload directly into your application. However, for production applications, you may want to dynamically query anchor payloads from your sites rather than hardcoding them.
The sample app includes a Sites scene that demonstrates how to programmatically query anchor payloads through the Sites APIs. This approach allows your application to:
- Dynamically discover available sites and assets
- Retrieve anchor payloads at runtime based on user selection or location
- Support multiple sites without rebuilding your app
- Update anchor payloads as new assets are processed and set to production
Exploring the Sites Scene
To see this in action:
- In the sample app, navigate to the Sites scene from the main menu.
- The scene will guide you through:
- Viewing your user information and organizations
- Browsing sites within your organization
- Listing assets for each site
- Viewing asset details, including the VPS anchor payload
When you select an asset, you'll see its anchor payload displayed in the asset information. This payload can be extracted from the AssetInfo.vpsData.anchorPayload property and used programmatically in your VPS2 localization code, rather than hardcoding it in your build configuration.
Implementation Details
- Android (Kotlin)
- iOS (Swift)
In the Kotlin sample app, see SitesView.kt for a complete implementation. The key steps are:
-
Create a
SitesSessionfrom yourNSDKSession:val sitesSession = nsdkSession.sites.acquire() -
Query sites and assets:
val sitesResult = sitesSession.requestSitesForOrganization(orgId)
val assetsResult = sitesSession.requestAssetsForSite(siteId) -
Extract the anchor payload from an asset:
val anchorPayload = asset.vpsData?.anchorPayload
In the Swift sample app, see SitesViewController.swift for a complete implementation. The key steps are:
-
Create a
SitesManagerfrom yourNSDKSession:let sitesManager = SitesManager(nsdk: nsdkSession) -
Query sites and assets:
let sitesResult = try await sitesManager.requestSitesForOrganization(orgId: orgId)
let assetsResult = try await sitesManager.requestAssetsForSite(siteId: siteId) -
Extract the anchor payload from an asset:
let anchorPayload = asset.vpsData?.anchorPayload
This programmatic approach enables more flexible applications that can adapt to your organization's sites and assets without requiring code changes or app updates.